Magento and Magento 2


Post Magento orders to QuickBooks automatically as sales receipts, invoices, and more
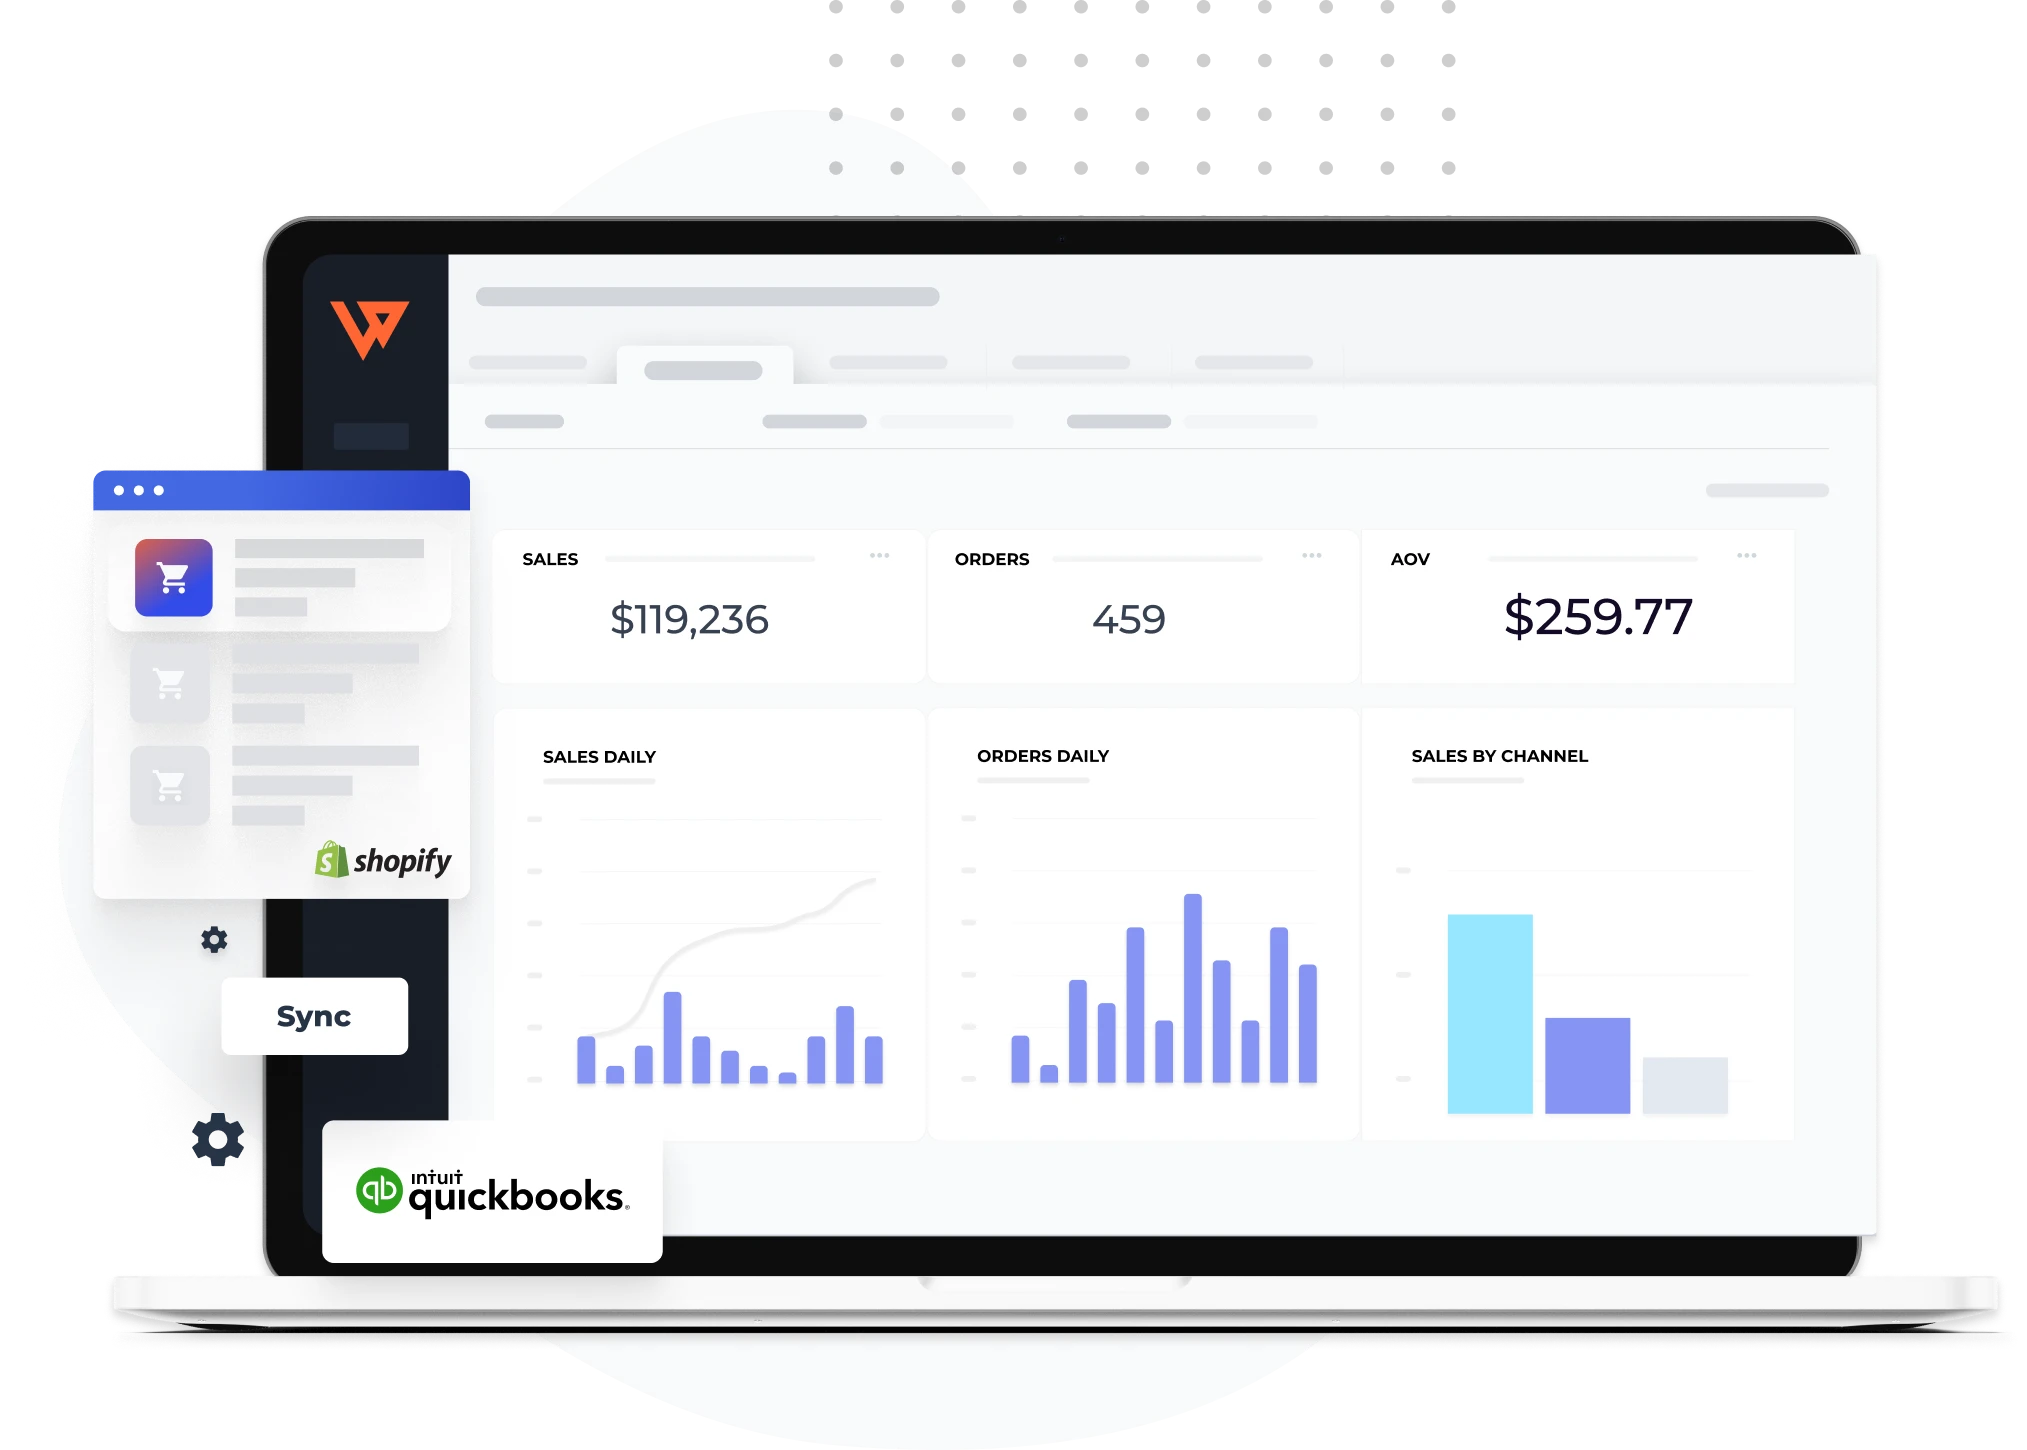
Save time and money with accounting automation for your Magento or Magento 2 store. Webgility connects QuickBooks to your web stores, marketplace accounts, shipping platform, and point of sale so that you can download and post orders as estimates, invoices, sales orders, or sales receipts directly to your accounting system.
Group transactions and post them as journal entries or individual line items, regardless of payment method.
Post Magento orders by selected date range or by order status.
Set automation rules to download and post orders on your preferred schedule.
Stay on top of supply with Magento inventory sync
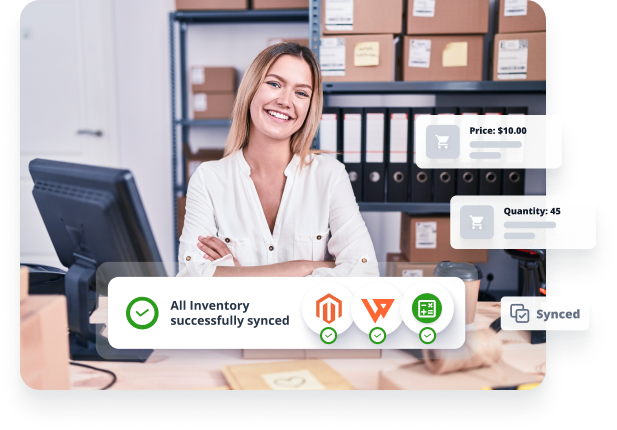
Synchronizing and updating products automatically can help avoid costly inventory mistakes like overstocking and stocking out, improving customer experiences. Webgility multichannel inventory sync keeps prices and quantities synced between Magento, QuickBooks, and anywhere else you sell online or in person through a POS terminal.
Set the Webgility Scheduler to update available inventory at your preferred frequency.
Transfer simple products from QuickBooks to Magento or the other way around.
Match or map products between Magento and QuickBooks.

Stay on top of tax rates, profits, SKU numbers, and other essential analytics
Simplify sales tax rates by validating third-party calculations. Then route the collected sales tax to the appropriate place in your chart of accounts for easy remittance. Access all your performance data from multiple channels and sources in one place. Webgility's business analytics solution gives you access to over 60 metrics for smarter decisions and improved efficiency.
Get SKU-level details on the products and channels with the highest returns.
Anticipate what’s ahead with revenue forecasting.
See where your customers are shopping on interactive heat maps.
See a detailed list of the features Webgility provides.


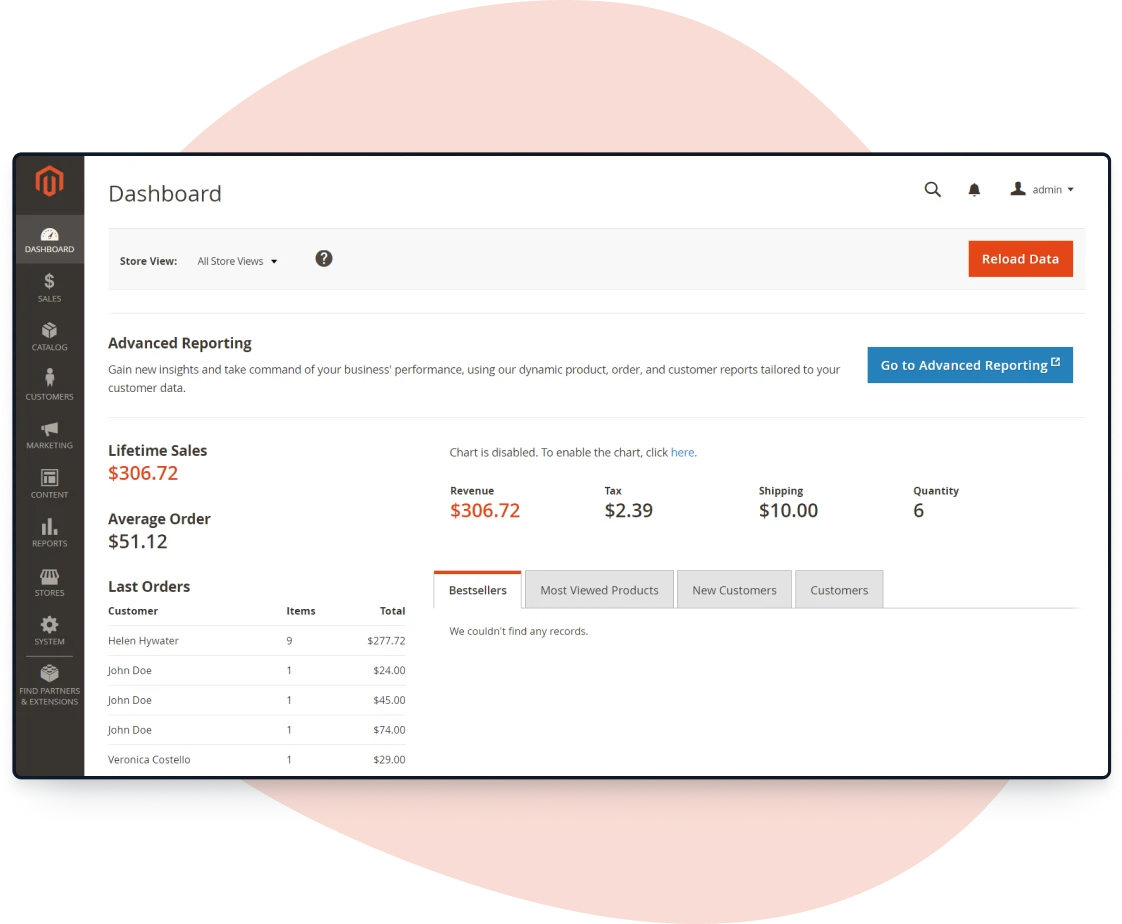
Why Magento (now Adobe Commerce)?
Magento (now Adobe Commerce) is a multichannel commerce platform for B2B and B2C businesses that want to integrate digital and physical shopping experiences and delight customers. Magento is a customizable, open source platform with a strong portfolio of cloud-based, omnichannel solutions, including in-store, retail associate and order management technology.
Magento 2 is a multi-store tool that allows sellers to set up additional websites using select products and design variations. Some sources suggest Magento 2 stores can handle around 10 million views per hour at a faster rate than Magento 1.
Compatibilities
Magento Commerce
Subscription
Accounting Platform
QuickBooks Online, QuickBooks Desktop
Category
- Sales Channel


To connect Magento and QuickBooks Online through Webgility, you'll need to install a Webgility store module, which will require your Web Store FTP Information. You can contact your system administrator or your hosting company for this information. From there, follow these steps:
- Select Settings, Connections, and the plus sign (+) next to Sales Channel.
- Select Magento and Continue.
- Enter your store's web address and select Continue.
- If you need to install the Webgility store module, do it now.
- Copy the path to the store module and paste it into the Webgility store module address.
- Enter your store's admin username and password and select Connect.
Yes! Magento integrations with QuickBooks through cloud accounting and accounting automation solutions like Webgility. When you connect Magento with your accounting system, you can virtually eliminate time-consuming and error-prone manual tasks.
Complete the following steps to connect Magento 2 to QuickBooks Desktop.
- Retrieve the access token located in the admin area of Magento.
- Go to System and Integrations.
- Select Add New Integration.
- Name the integration Webgility_Magento, and enter your store's login credentials.
- Provide "All resource" or "Customer resource" access to the API by selecting from the dropdown menu under Available APIs.
- Select Activate, Allow, and copy the access token, select Save, and select Done.
- Open Webgility and select Add a Store. Under the Select Store field, choose Magento 2 and Higher.
- Enter the admin base URL (website URL) and Access Token. Then select Connect to Magento.
- Once Magento connects, select Continue.
The #1 app recommended by thousands of multichannel sellers and accountants


Stop wasting time entering data and start saving money today.